Create a Calendar
This How To will show you how to create a new calendar dedicated for controlling alarm control panel state. This is one way of using AutoArm, you can choose to use other types of calendars, reuse events from existing calendars, or mix-n-match.
Add a Local Calendar
Use the button, or follow the manual steps:

- From the Settings | Integration screen, choose Add Integration.
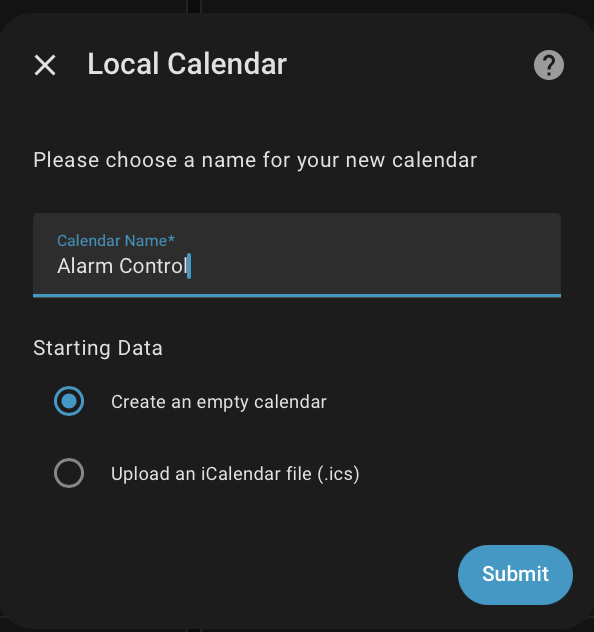
- From this dialogue, choose Local Calendar

- Configure the integration by choosing its name
Configure AutoArm
UI and YAML split
Calendar entities and no_event_mode are now configured via the AutoArm Options UI. Per-calendar state_patterns and poll_interval remain in YAML.
Select the calendar entity in Settings > Devices & Services > AutoArm > Configure.
Then add the per-calendar details in YAML, in this example Alarm Control is the name of the calendar:
autoarm:
    calendar_control:
      calendars:
        - entity_id: calendar.alarm_control
          state_patterns:
              disarmed: Disarmed
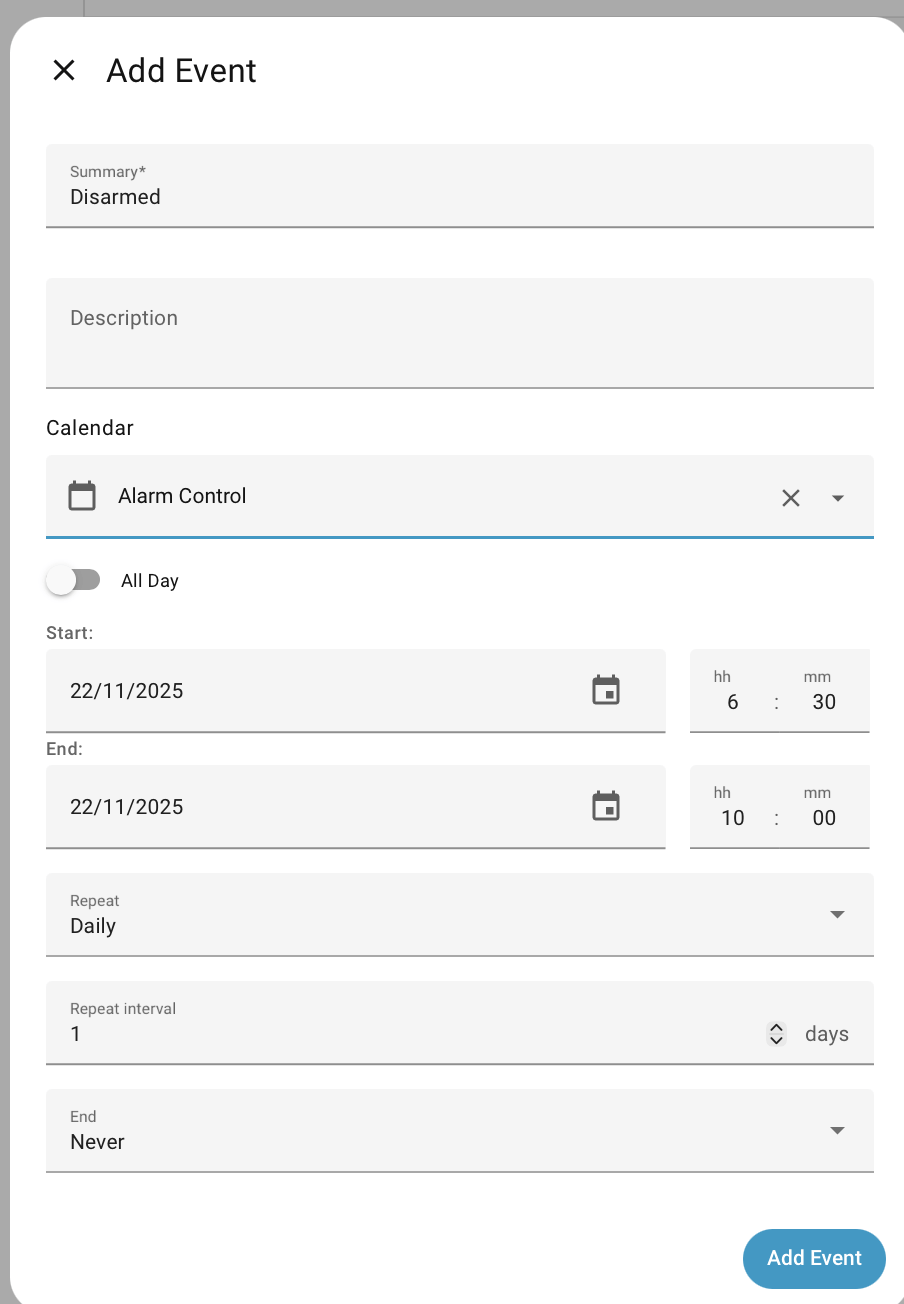
This calendar is going to be used very simply to disarm the alarm during set periods, and let AutoArm automatically handle the other times.
Access the Calendar
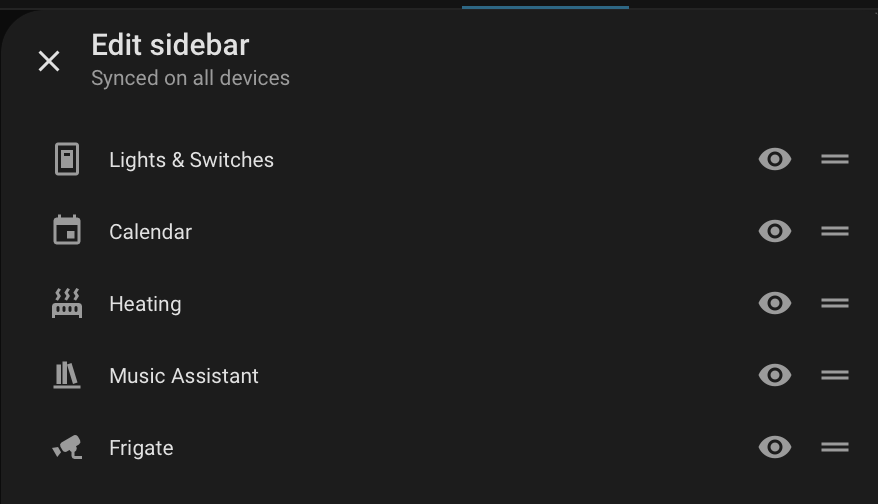
If you don't have a Calendar option in the Home Assistant side-bar, then go to the personal settings ( bottom left corner, with your name against it) and change the visibility as:
Setup a Disarm Schedule
Now that you have access to the calendar screen, add a recurring event for disarming.
Changing your Mind
Once the event is created, double-click on a day to change it. You get the choice of changing just that day or all the recurring entries. Similarly you can delete one day from a recurring entry without affecting all the other ones. This makes it easy to do some one-off tuning for some days.
Adding Vacations
You may have vacation events already on another calendar integration ( like Remote or Google Calendar ), or may want to add them to this one.
Here's how that might look:
autoarm:
    calendar_control:
      - entity_id: calendar.alarm_control
        state_patterns:
            disarmed: Disarmed
      - entity_id: calendar.family_happenings
        state_patterns:
            armed_vacation:
              - Camping Trip.*
              - .*Holidays.*
            armed_away:
              - Work Trip.*
What to do when no event
While a calendar could have events covering every minute of every day, its much less work to only define what is needed, such as what's the right time to arm at night, or when vacations start and end.
no_event_mode allows control over what happens when there's no calendar event, and nothing else to determine alarm state. This is configurable via the AutoArm Options UI. It can be:
auto - Will make best guess, including checking what the alarm panel was before the event manual - No state changes made when calendar event ends disarmed,armed_away etc - Use any of the standard Alarm Control Panel states as a fixed default